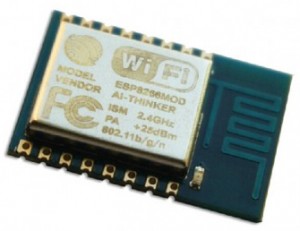
About two years ago, a cheap five dollar microcontroller has been entering the maker scene, featuring b/g/n wireless LAN. The ESP8266 is manufactured by a Chinese company, called Espressif Systems and became soon very popular as a building-block for home-automation and IoT projects.These modules were distributed on Ebay, the Amazon Marketplace or AliExpress for a few dollars. However, communication with most of the ESP8266 modules requires an external USB-to-Serial-Adapter and a special procedure to bring the device into “flash-mode”, which can be cumbersome in some cases, especially for beginners. With the brand-new WeMos D1 Mini, the setup was significantly simplified, so that it is as easy to use as an Arduino UNO.
The WeMos D1 Mini Board
The WeMos Mini D1 makes use of an ESP8266-E12 microcontroller, and provides access to eight digital and one analog GPIO pin. The device is usually shipped with a set of different male and female pin headers, which must be soldered before first use. The board can be powered both via USB or directly through it’s 5 V pin. Unfortunately, this is not well-documented in the WeMos-Wiki, but there is a linear step-down voltage regulator on board.
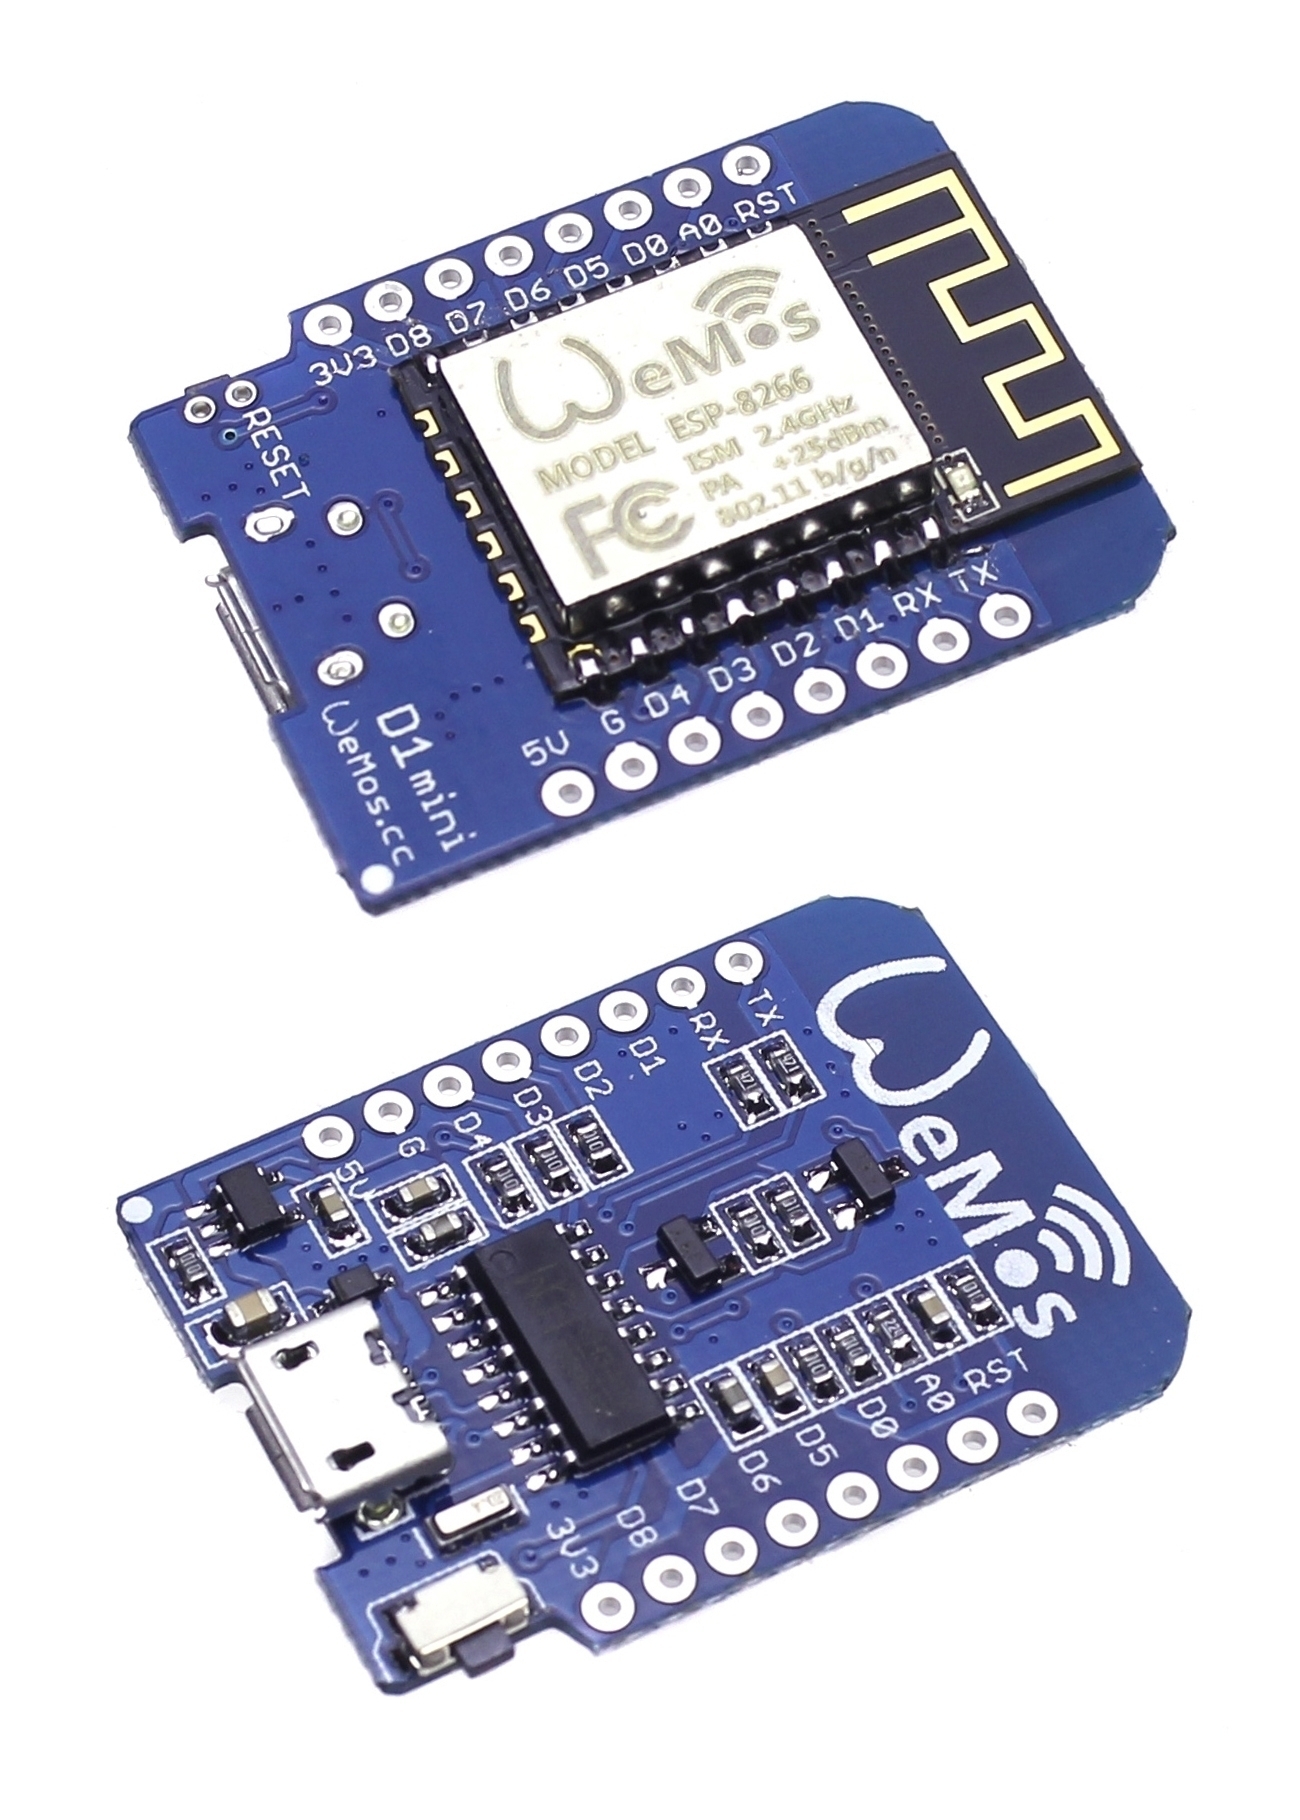 The technical specs are summarized on the following table. All input/output pins require 3.3 V in contrast to the Arduino UNO.
| Microcontroller | ESP-8266EX |
| Operating Voltage | 3.3V |
|---|---|
| Digital I/O Pins | 11 |
| Analog Input Pins | 1 |
| Clock Speed | 80MHz/160MHz |
| FLash | 4M bytes |
| Length | 34.2mm |
| Width | 25.6mm |
| Weight | 10g |
The WeMos D1 mini is fully compatible with the Arduino IDE. All you have to do is, to clone the ESP8266 package into the Arduino IDE’s hardware folder, which is as simple as:
cd hardware
mkdir esp8266com
cd esp8266com git clone https://github.com/esp8266/Arduino.git esp8266
Alternatively, installation can be done though the Arduino-IDE’s board-manager, however this is not recommended. A couple of example sketches can be downloaded from github:
cd <Sketchbook_directory>
git clone https://github.com/wemos/D1_mini_Examples.git
Under Windows, you need setup the ch340g driver, before you can use the WeMos board. This is not necessary if you are using Linux. The WeMos D1 mini is compatible with nodemcu. However, it is recommend to use the Arduino-IDE.
Here is better Fritzing part for WeMos D1 mini:
https://github.com/mcauser/Fritzing-Part-WeMos-D1-Mini
Yep Fritzing is a nice software but UI is not so clear… (and also it’s not really stable). However it’s the only one I know that can make breadboard/stripboard schematic…
I manage to create some parts following the Sparkfun tutorial :
https://learn.sparkfun.com/tutorials/make-your-own-fritzing-parts
Using inkscape for svg creation.
Thanks for this post !
I’m looking for a fritzing part for Wemos D1. I guess your schema http://luetzels.raspiblog.com/wordpress/wp-content/uploads/2016/01/WeMos_D1_Relay.png is made with fritzing.
Can you indicate me where do you find the WeMos D1 part ? or if you made it, can you share it ?
Thanks !
Hi Emmanuel,
this is not a Fritzing part. I’ve been looking for it as well but couldn’t find it. Instead, I took a JPG image of the board from the wemos.cc site
and modified it using GIMP. I tried to make my own Fritzing part, but it turned out to take too much time. Please let me know if you find
this part elsewhere.
Cheers,
Martin
Ok thanks for your answer,
I also ask here: forum.wemos.cc/topic/14/fritzing-part-for-d1-mini
I think I will open inkscape and try to build it. I’ll post a link to github as soon as it is done.
I just create a quick&dirty part.
It is here : https://github.com/enavarro222/MyFritzingParts/blob/master/WeMos_D1_Mini.fzpz
For my use (== stripboard design and documentation) it should do the job… However feel free to improve it ! there is to do 😉
Awesome work! I’ve been struggling using the Fritzing parts editor. Can you point me to a good tutorial?
Cheers,
Martin