Now, check for the presence of the following directories, the jemboss-install-server.sh will ask about the location of the following directories:
- Java: /usr/lib/jvm/jdk-7-oracle-armhf
- Axis: /usr/local/axis-1_4
- libgd, libpng and zlib will be automatically detected by the configure script;
on Debian Wheezy its safe to hit return on that question - /user/bin/clustalw (you can configure the path later in jemboss.properties;
install with apt-get, if necessary) - /usr/bin/primer3_core (you can configure the path later in jemboss.properties; install with apt-get, if necessary)
Now you’re ready to call the install-jemboss-server.sh script. Since EMBOSS is going to be installed after compilation, you must invoke the script with root permissions:
$ sudo sh install-jemboss-server.sh
Since, I’m going to use Jemboss as a single user, its safe to answer the following questions with “no”:
Enter if you want the Jemboss server to use data
encryption (https/SSL) (y,n) [y]?
n

Do you want Jemboss to use unix authorisation (y/n) [y]?
n
After answering all questions, the script starts a “./configure” and will compile all EMBOSS apps. This will take a couple of hours on a RasPi. If you want to speed up the compilation process, overclocking might help.
Finishing the Installation
When the compiler has finished, EMBOSS will be installed into /usr/local/emboss, given that you have accepted the default location suggested by the installation script.
At this point you’ll be asked if you want to install the EMBASSY packages. Only answer yes if you have extracted them into the EMBOSS-6.6.0/embassy subdirectory. The packages can be installed later, but make sure to use the same options for ./configure.
$ ./configure --prefix=/usr/local/emboss
If you’re asked for automatic deployment of the Jemboss server, answer “yes”. Make sure that Tomcat is not started (the installation script takes care about it). Older EMBOSS releases allowed to do the deployment manually with the deploy.csh script, located within the jemboss/utils directory. Remember that the tomcat folder requires the correct user/group settings for deployment (see above).
sudo chown tomcat:tomcat /usr/local/tomcat -R
Check with your browser at http://<servername>:8080/axis/servlet/AxisServlet whether the deployment was successful. You should be able to see a list of entries including JembossServer (wsdl) and EmbreoFile (wsdl).
Now change to jemboss/utils within the EMBOSS source directory and run the makeJNLP.sh script. It will create signed jar files under jemboss/jnlp, which can be copied to the root directory of the webserver, e.g. /var/www/jemboss. The script makes use of the jemboss.properties file within the jemboss/resources subfolder. Check the file for correct path and authentication settings.
Follow the instructions that are displayed after the makeJNLP.sh has finished (edit the codebase, i.e. enter to root directory of your EMBOSS installation and add the line “application/x-java-jnlp-file jnlp” to /etc/mime.types).
In /usr/local/tomcat/bin/catalina.sh, add -Djava.awt.headless=true to the JAVA_OPTS variable. Otherwise you might see an error message: “Could not initialize class sun.awt.X11.XToolkit” on Jemboss start.
If you’re going to generate restriction maps, you must download and install two files from REBASE, withrefm.xxx and proto.xxx. Copy both files to your home directory. With root privileges, run the EMBOSS application “rebaseextract” and point the program to the withrefm and proto file, respectively. To run rebaseextract from console, you must add the path to the EMBOSS binaries in your /etc/profile (PATH=$PATH:/usr/local/emboss/bin).
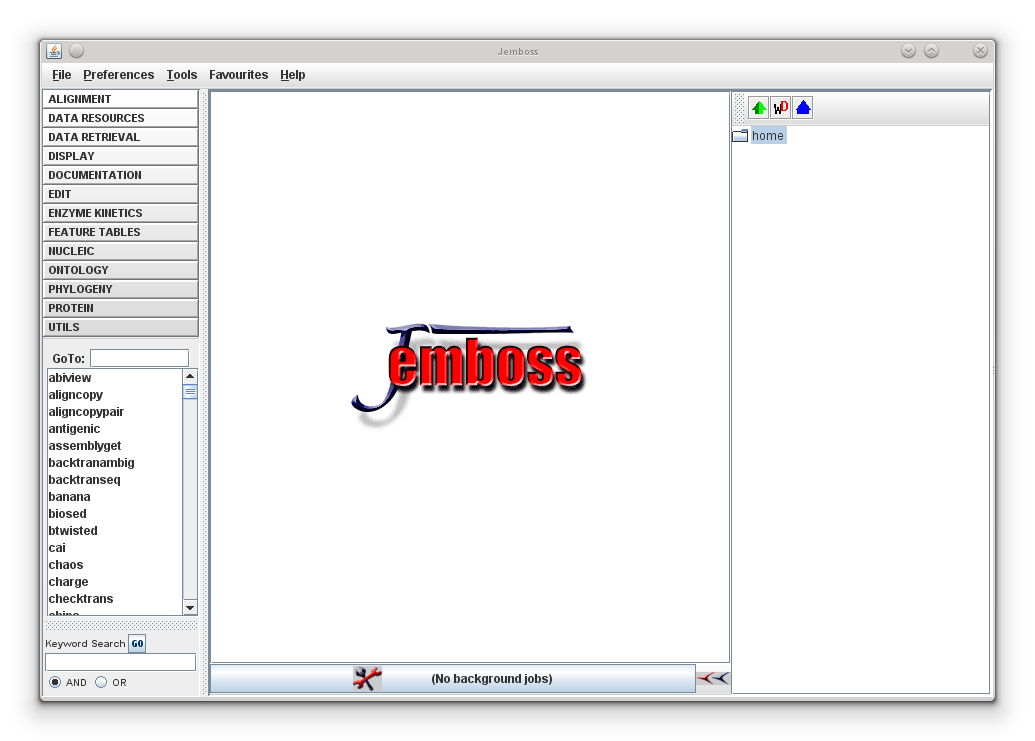
Now, you should be able to start your first Jemboss session. Goto http://localhost/jemboss and click onto the “launch” Jemboss button. It requires that your browser has the java plugin installed. Open the jemboss.jnlp file and give the path to the javaws.exe (Java WebStart), which is part of the Java SE/JDK.
If Jemboss started successfully, you should the Jemboss GUI – congratulations!
