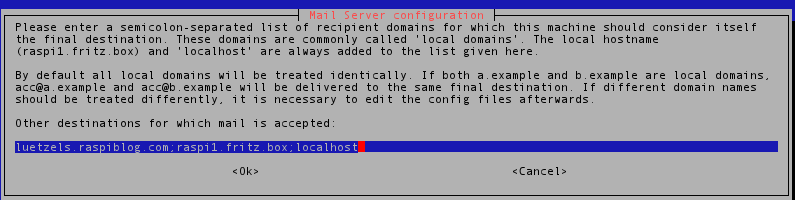
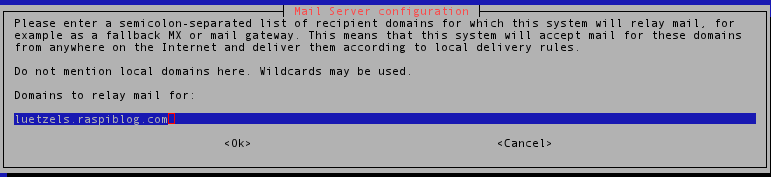
 If you want to receive e-mail from the internet, you can set the domain name of your server in the next dialog.
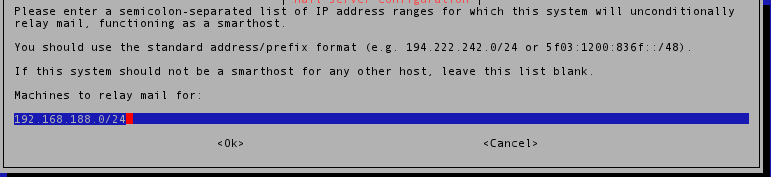
 To deliver local e-mail configure the address space of your home network in the next dialog. To cover all adresses, enter 192.168.x.0/24
 In order to be able to send mail from your RasPi, you must enter the address of the outgoing mail server of your provider. If it supports TLS or SSL encryption it might be necessary to add a port number (::587 or ::465) to the address.
Most providers do not allow outgoing with a different domain name. Therefore you must enable rewriting of local domains and specify the domain name your RasPi should use for the domain part of local users’ sender addresses.
Finally, keep the suggested mbox format to store e-mail on your RasPi and don’t split the configurations files.
If your e-mail provider requires authentication for outgoing mail, you have to create a file in /etc/exim4/passwd.client with the content:
mail.example.com:username:password
Change ownership of this file with sudo chown to root.Debian-exim and set file permissions with chmod to 640. Furthermore, create a file in /etc/exim4/exim4.conf.localmacros with the content:
MAIN_TLS_ENABLE = 1
If you don’t want to create new user accounts on your Pi, you can set e-mail aliases for outgoing e-mail in /etc/email-adresses.
root: mymail@myprovider.com
pi: mymail@myprovider.com
Aliases for delivery of incoming mail can be set in /etc/aliases. Just add the line root: pi to the end of the file to forward all messages to the default user “pi”.
Now you can test if you’re RasPi is able to handle outgoing mail by typing the following line to a console:
echo "Smarthost-Test" | mail -s Smarthost-Test user@example.com
If no mail is delivered check for messages in /var/log/exim4/mainlog. If you want to forward all messages to the default “pi” user, simply create a /home/pi/.forward file containing a single line with your e-mail address.
What if something goes wrong …
If something goes wrong, check /var/log/exim4/mainlog for debug messages. If mails cannot be sent from your machine, they accumulate in the mail queue. You can clear the queue with:
exim -bp | exiqgrep -i | xargs exim -Mrm
Warning: All messages will be lost!