Customizing the WordPress menu
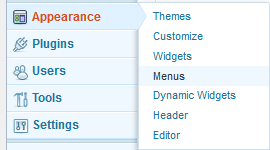
Once you have created a couple of pages, you may want to make them accessible through the WordPress menu. To configure a custom menu, select “Appearance->Menus” from the Dashboard.
On a fresh WordPress installation, the menu structure will be populated with your existing pages, represented by widgets, which can be moved around with the mouse. The default WordPress theme (TwentyThirteen) allows to have only one menu. If you need more menus, you have to install a different theme. You can group the menu items into a main- and as many sub-items you like. Each group will be arranged into a tab on your menu, starting with the main item that sits on top of the group. However, it takes some getting used to, that there are no tab headers. In order to have a header (which is not clickable as a link), goto “Appearance->Menus” again and add a new link.
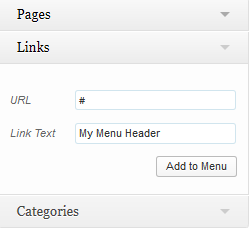
As URL, enter “#” and enter the name of your header into the “Link Text” field as above. Then click on “Add to Menu” and move the new widget onto the top of an item group. Then, remove the “#” sign and you’re done!