… Santa Claus is coming to town! OK folks, its time to dig in the basement to take out and put up all the shining holiday decorations. And if you like tinkering, a LED cube might be a nice Christmas project or could even make a nerdy gift. So here is my cube of light art:
A Google search reveals thousands of hits on how to construct a 4x4x4 LED cube. Since I wanted to put my cube on display in the living room, I rather preferred a professional design than soldering the cube onto a bare prototyping board with lots of loose wires sticking out. Therefore, I assembled it on two stack-able prototyping shields: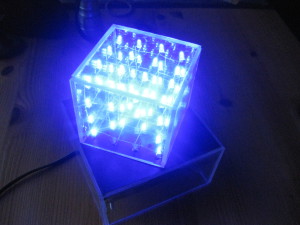
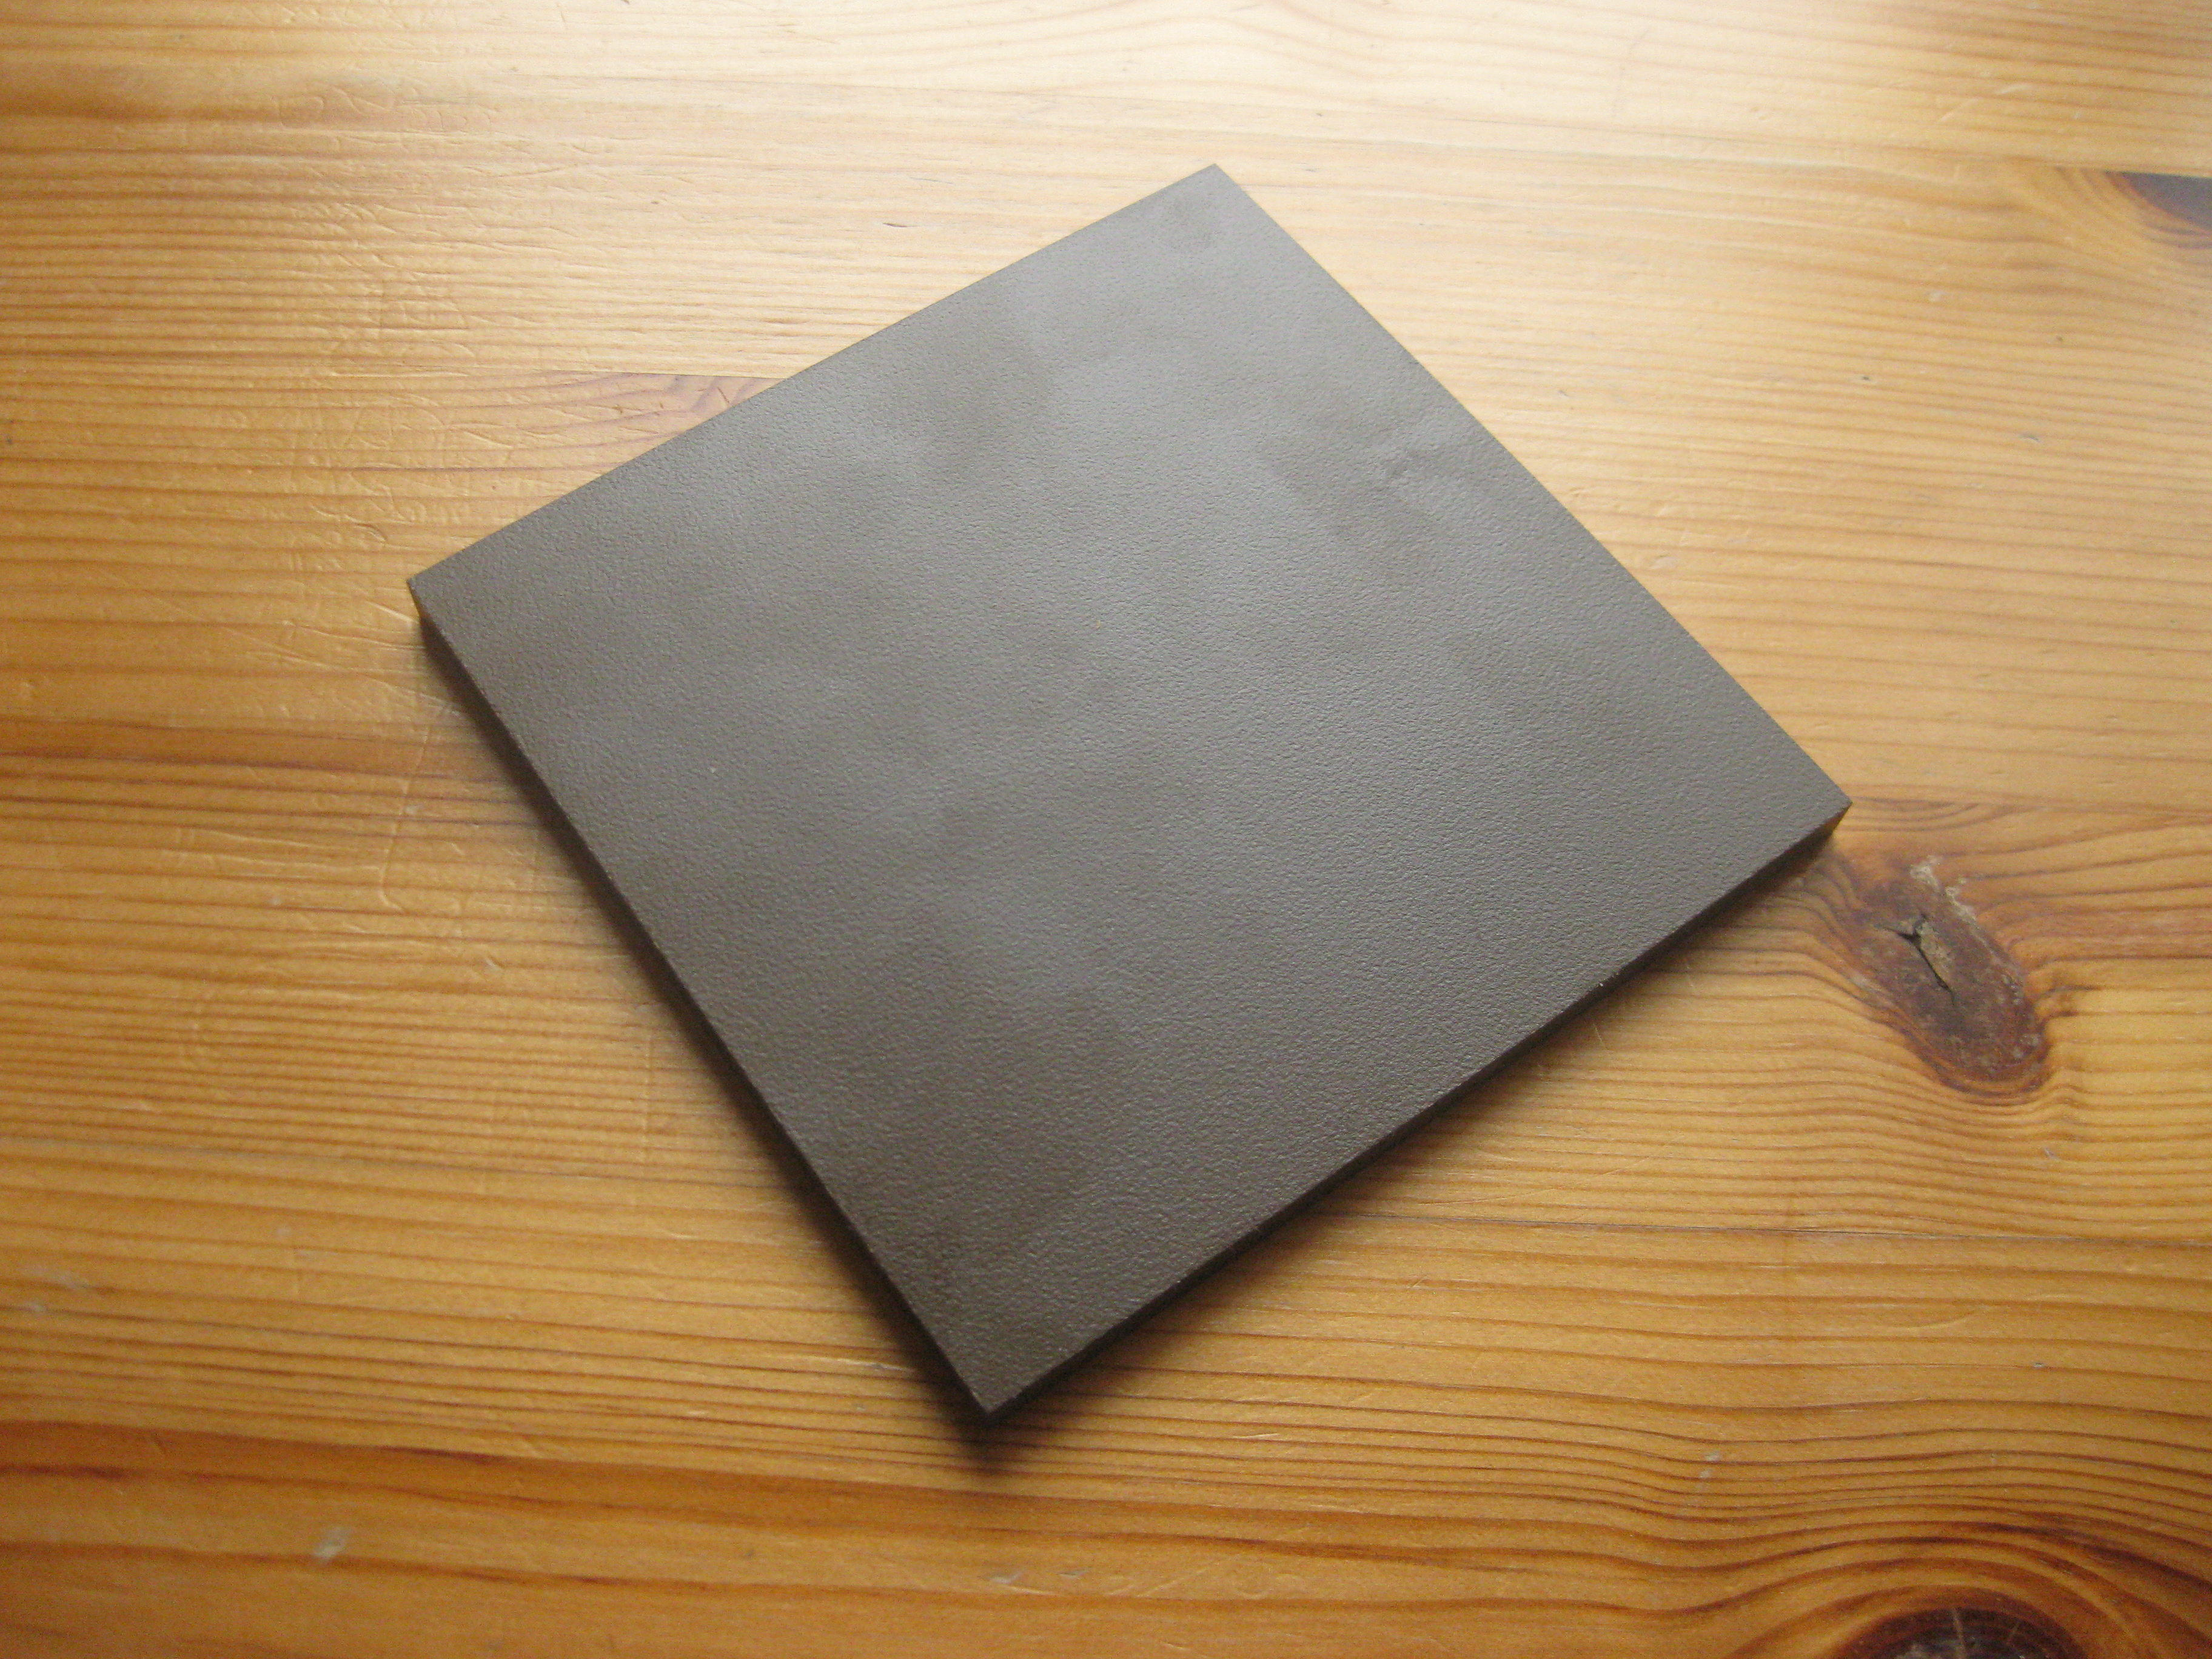
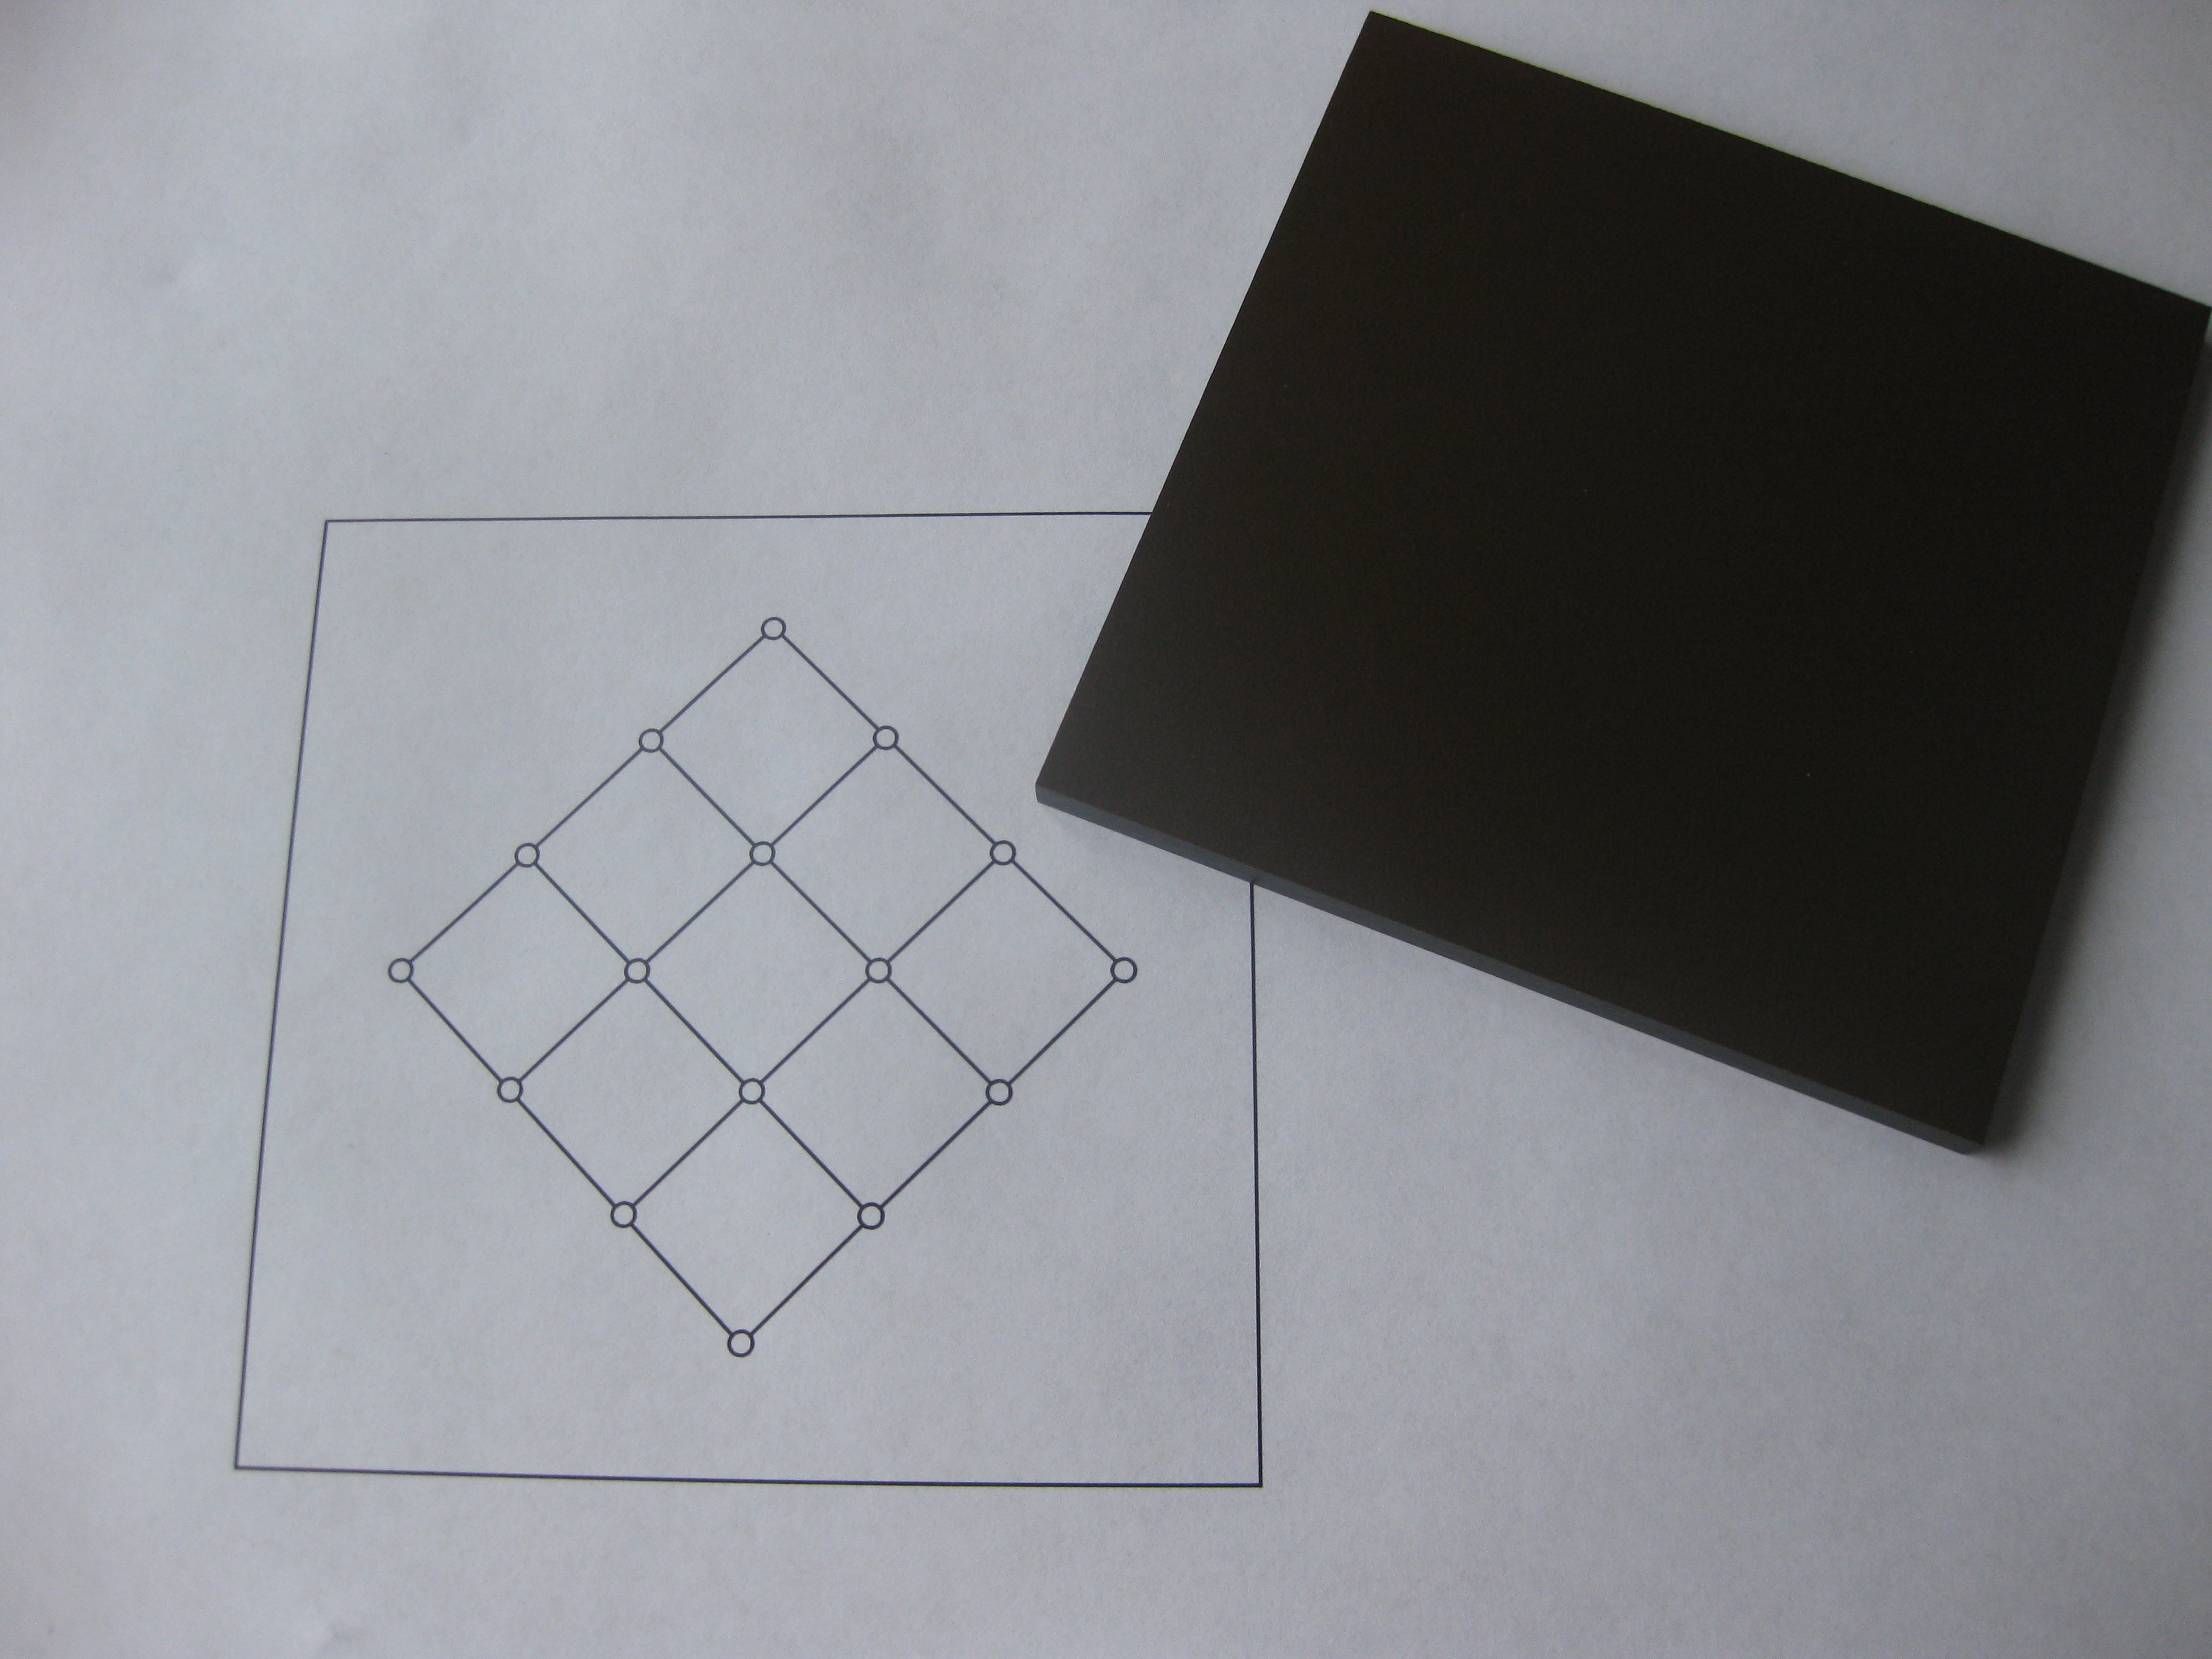
As it is described in most tutorials, I started with a template using a building slab with dimensions of 10 x 10 cm. I got mine from a local hardware store for only € 0.37. With a Dremel, I drilled 16 holes of 3 mm in diameter into it. Their diameter and spacing depends on the LED type (5 or 3 mm) and length of the LED’s legs, which can be adjusted using a stencil board. With a stencil board you can test if there is enough overlap between the legs for soldering.
 |
 |
After drilling, I prepared the cube’s layers by inserting the LEDs into the holes, bending the legs and connecting all cathodes (-) in on plane. The anodes (+) make up 16 columns. The anodes must be bent as well, so that a small “shoulder” is formed in order to connect the legs of the above plane. You should carefully handle the building slab, because it will be used later on as the cube’s base.
